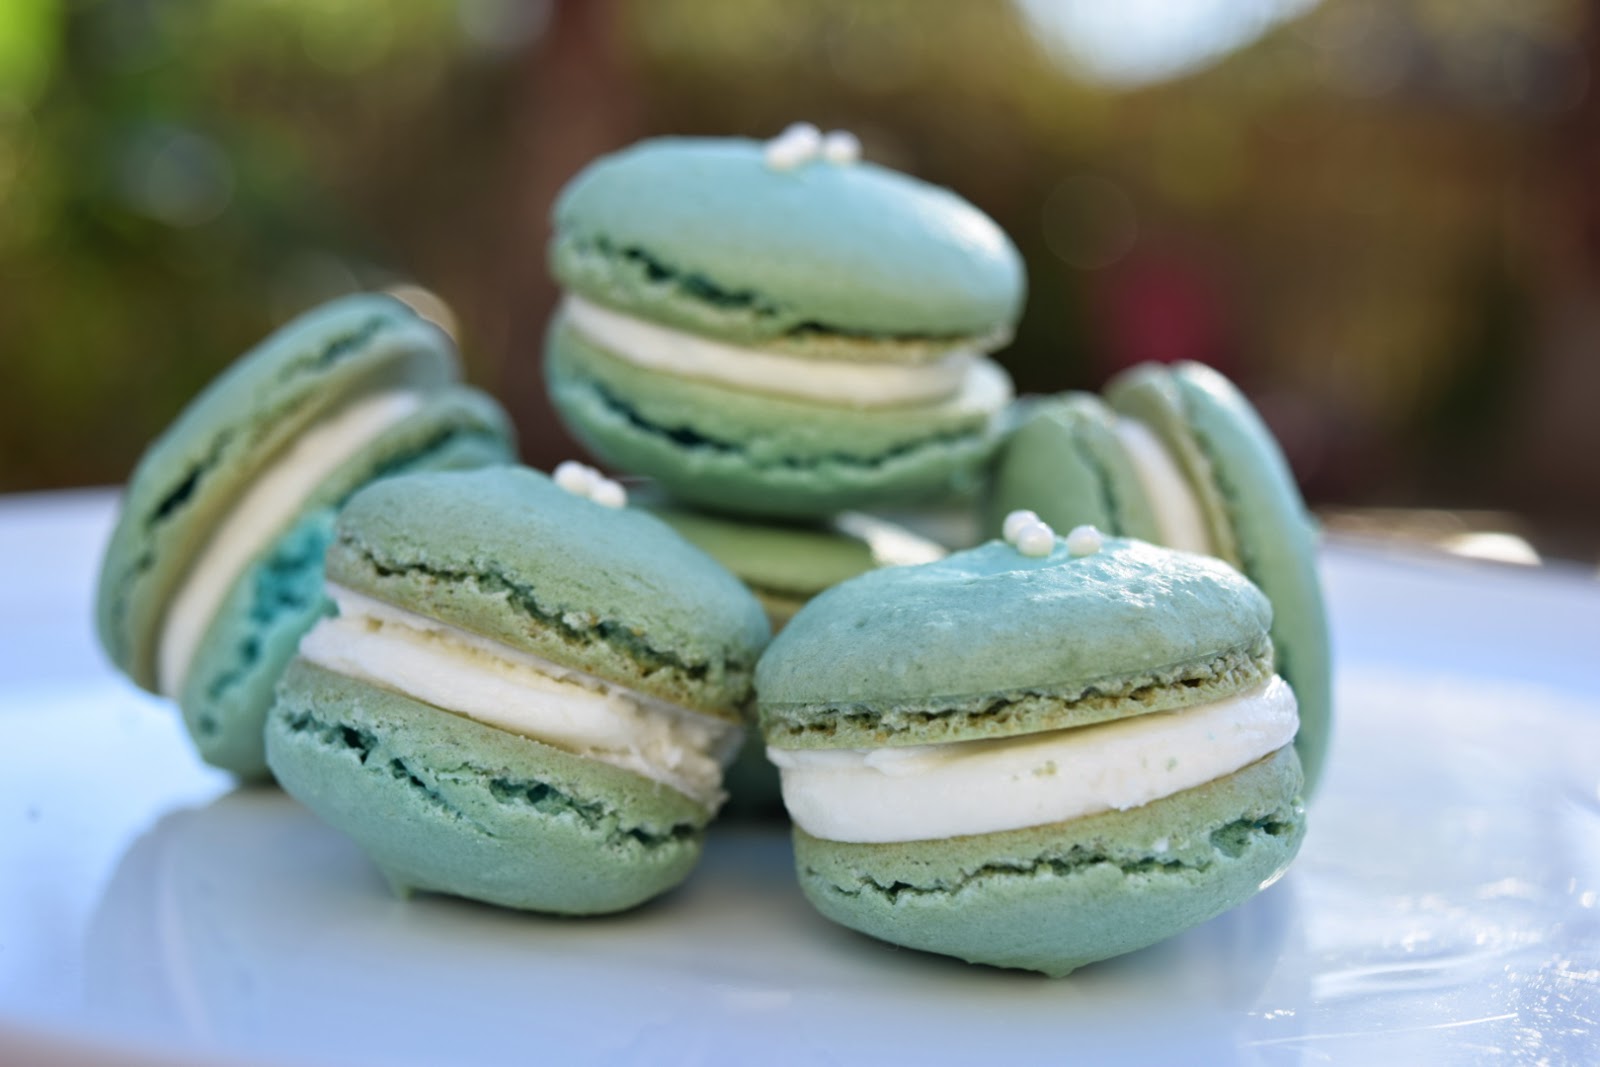
Raspberry Lemon Macarons + RECIPE&TUTORIAL!
Raspberry Lemon Macarons!
with Recipe & Step-by-step tutorial!
Yesterday was a good day and a bad day. Bad because I had a rough day at my university with a really hard biology test :( But good because these Macaron babies were born!!!
Today I'm going to post my recipe as well as a pretty detailed tutorial step-by-step as to how I achieved these Macarons!
This was my second time making Macarons successfully (many many times unsuccessfully), but I think now I have a pretty solid base recipe, and you can just adjust flavorings and colors to make new variations!
Last week I made (and posted about!) these super chocolatey Macarons! Mmmm they were soo decadent.
Now let's get to it!
Ingredients for Raspberry Lemon Macarons:
makes about 40 macaron shells, or 20 sandwiched Macarons
Ingredients for Macaron shells:
- 3/4 cup Almond Flour (can be found in health section of grocery store or can just use whole or slivered almonds without skin and grind in blender or food processor)
- 1 cup powdered sugar (also known as confectioner's sugar, icing sugar)
- 4 tablespoons white granulated sugar (just normal sugar)
- 2 egg whites (MUST be at room temperature!)
- a pinch of salt
- pinch of Cream of Tartar (optional! but sometimes helps egg whites to have more stable stiff peaks)
- food coloring (liquid or gel coloring is fine!) For these Macarons I used 2 drops of Red
- about 15 fresh Raspberries (amount of raspberries depends on if you want to sandwich them in the macaron like in the first photo, or just place them on top, or not at all!)
Ingredients for Lemon Buttercream:
- Zest from 1 lemon
- Juice from 1/2 a lemon (I recommend to first zest the lemon then squeeze the juice out!)
- 1/2 cup softened butter
- about 1 cup powdered sugar
*Macarons are GLUTEN FREE! So even people with a gluten intolerance can enjoy these treats!*
Tutorial!
- Take eggs out of the refrigerator! Place them into a cup with warm water for 5 minutes. This will ensure that the egg whites are NOT
cold, but room temperature! This is a very important part! When you take the eggs out of the water, they should not feel cold. - Separate the eggs. You will only be using the whites not the
yolks.You can save the yolks for later use (I had an awesome omlette with them this morning!) Place the whites into a clean, metal mixing bowl. A stand mixer would be really helpful but not absolutely necessary. Grab that whisk! Whisk these egg whites until they are foamy and frothy, about 2 minutes. - At that point, when the egg whites are visibly foaming, you can slowly add in the white granulated sugar
(not powdered sugar),one tablespoon at a time! At this point also add in the pinch of salt and cream of tartar if you are using that. - Now beat this mixture of egg whites, white sugar, salt and optional cream of tartar until it reaches stiff peaks! A stiff peak means that when you raise the whisk, the egg whites stick to it and look like a nice and stable pointy mountain. This whole mixture should look very white, glossy, shiny, and not a liquid!
| photo by theheritagecook.com |
5. Now, you can put in the food coloring and any flavoring extract! I used 2 drops of red liquid food coloring to achieve this soft raspberry pink color.
6. In a separate bowl, sift the almond flour and powdered sugar into the new bowl. Make sure you sift everything a few times to make sure those two ingredients are a fine powder when you're done sifting them. Discard any large lumps of almond flour that don't go through the mesh sieve.
7. It is time for the tricky part! Be very aware and careful in this step! You now have 2 bowls, one that has a colored egg white mixture, and another bowl that has very finely sifted almond flour and powdered sugar. Add 1/3 of the flour and sugar mixture into the egg white mixture, and using a spatula, gently fold the two mixtures. I used about 10 strokes of the spatula. Try not to deflate the egg whites because they need that air! My method of folding with a spatula is to go around the bowl in a circle. Start and end at the same point of the circle so you can count the number of strokes.
8. Add in the second 1/3 of the flour and sugar mixture and fold the exact same way, very gently! When you don't see any white powder, you can add in the last portion of the flour and sugar, and again fold very carefully. When you don't see any traces of almond flour or powdered sugar, this is when you are almost done folding the batter. The consistency of the batter should flow off the spatula like lava or magma from a volcano: very slow and thick. Don't overmix!! When I was making the Chocolate and also the Raspberry Lemon Macarons, I stayed around 40 strokes of my spatula for the entire folding process!
9. Place the batter into a piping bag fitted with a round piping tip, or the lazy way: a giant ziplock bag and just snip off the corner!
10. Start piping your circles your desired size and shape onto either parchment paper or a Silpat like mine (basically a reusable silicon baking mat). DO NOT use wax paper or aluminum foil or bake them straight on the tray. THEY WILL STICK and become a huge nightmare!
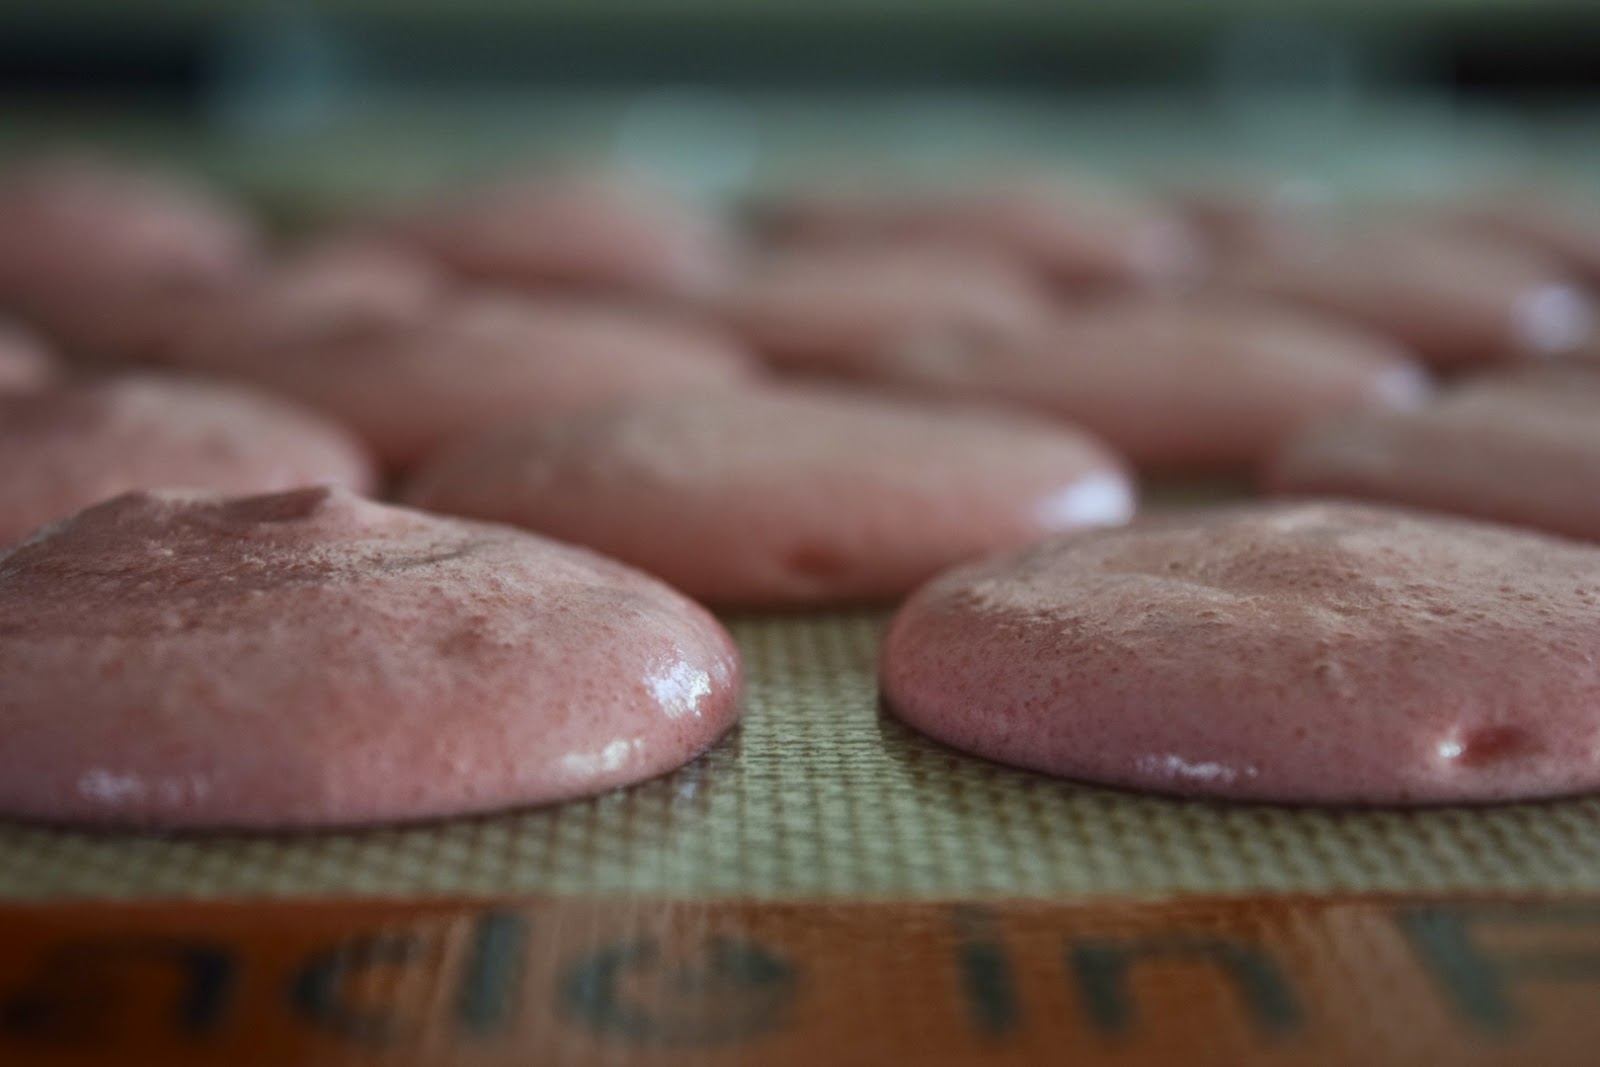
12. Let the Macarons rest on the sheet for about an hour! They need to dry out and form a hard and dry coating on the outside so that when they bake, they form the beautiful little ruffly edges called "feet". After resting, touch a few of the macarons gently and if the batter does not stick to your finger at all, then they are ready to be baked!
13. Bake at 300 F for 8-10 minutes, then rotate the rack and bake for another 8-10 minutes! I found 8 minutes to be the perfect amount for my oven. When completely baked, they should be easily taken off the sheet without breaking, and the bottoms should be smooth!
14. When the shells are baked and cooled, you can now fill them with the filling! For these, I filled them with a zesty lemon buttercream. In a bowl, mix the softened butter with the lemon zest and lemon juice, then add in the powdered sugar 1/4 cup at a time until everything is very fluffy and looks like icing. Using another piping bag, fill one macaron shell with a circle of filling, and place another empty shell on top to make a sandwich!
Here is a quick video of how I assembled the Macaron with raspberries inside!
The most important part comes next: ENJOY THESE BEAUTIFUL THINGS.
AND HAVE AN HOUR LONG PHOTOSHOOT LIKE I DID.


Comments
Post a Comment